


By Sarah Al-Waleed
Eye appeal is buy appeal, and food is no exception.
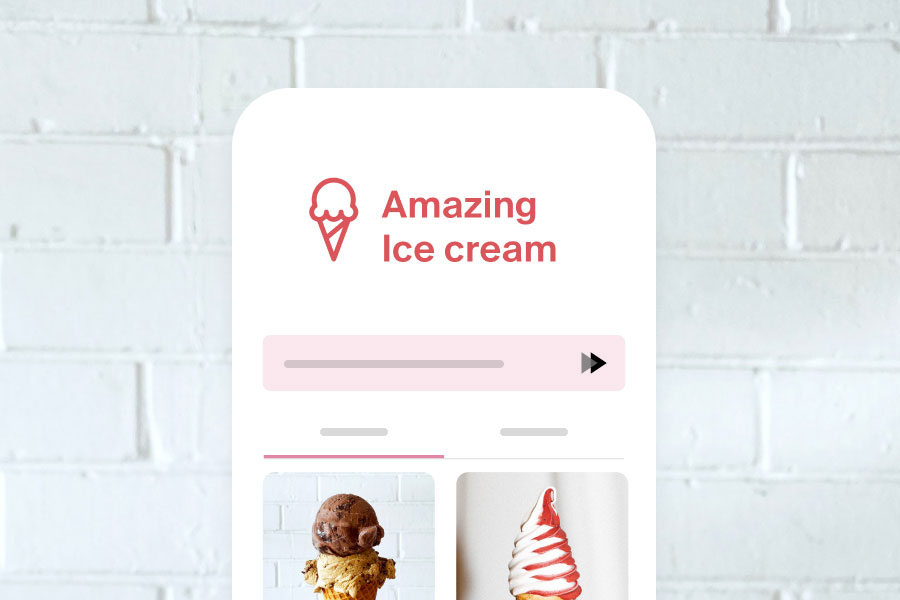
Great food photography can get customers to imagine what it would be like to experience or taste your food firsthand. It captures their attention when they see it on social media, it whets their appetite when they gaze at it on your menu, and it triggers their hunger when they run into it in your ads.
Top-notch images also show your restaurant in the best possible light. They bolster your message, increase engagement with your target audience, and give the impression that you have a strong brand that heavily invests in itself.
So, here are some tips that will elevate your food photography game and empower you to take advantage of this powerful promotional tool.
Best Food Photography Tips and Practices
1. Pick the right lighting
As a rule of thumb, go for plenty of natural light. For example, take your photos in the morning or shoot near a window, allowing for softer natural lighting. You can also incorporate a diffuser between your shooting station and the window you use for direct natural lighting. In doing so, you'll reduce harsh shadows and balance your lighting effects.
Some photography enthusiasts advise against artificial lighting, but it can be helpful in some circumstances. For instance, artificial light gives you flexibility in terms of time; that way, you won't feel the need to be chasing that natural lighting.
And you can always experiment with the intensity of the light to see which works best for different food shots.
Also, try to avoid flash photography whenever possible. Using your camera's built-in flash can remove important shadows, create harsh reflections, and make the food look flat and unappealing.
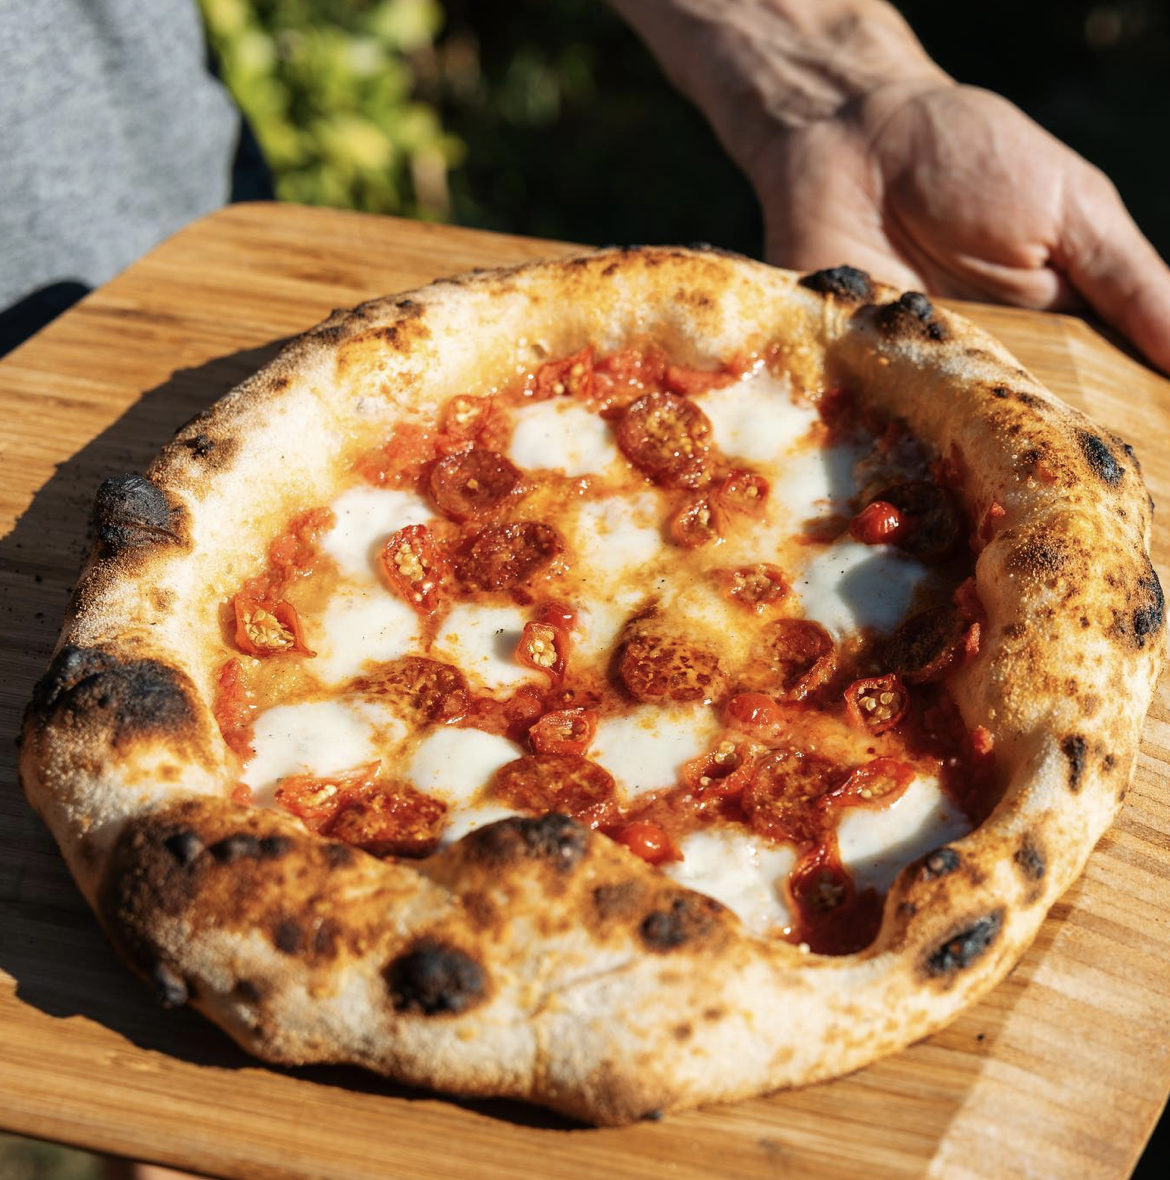
Here's an example of how mouth-watering a pizza can look in natural lighting:
2. Set up your background
The background of an image can go a long way toward highlighting your hero dish(s). You want a background that will keep the focus on your food and complement it in all the right ways.
For example, since the vast majority of food is warm-toned, you can use cool-toned backgrounds (such as gray, blue, and purple tones) to complement your dishes and make them pop.
There's also a consensus among professional photographers to use vinyl backgrounds because of their durability and non-reflective nature.

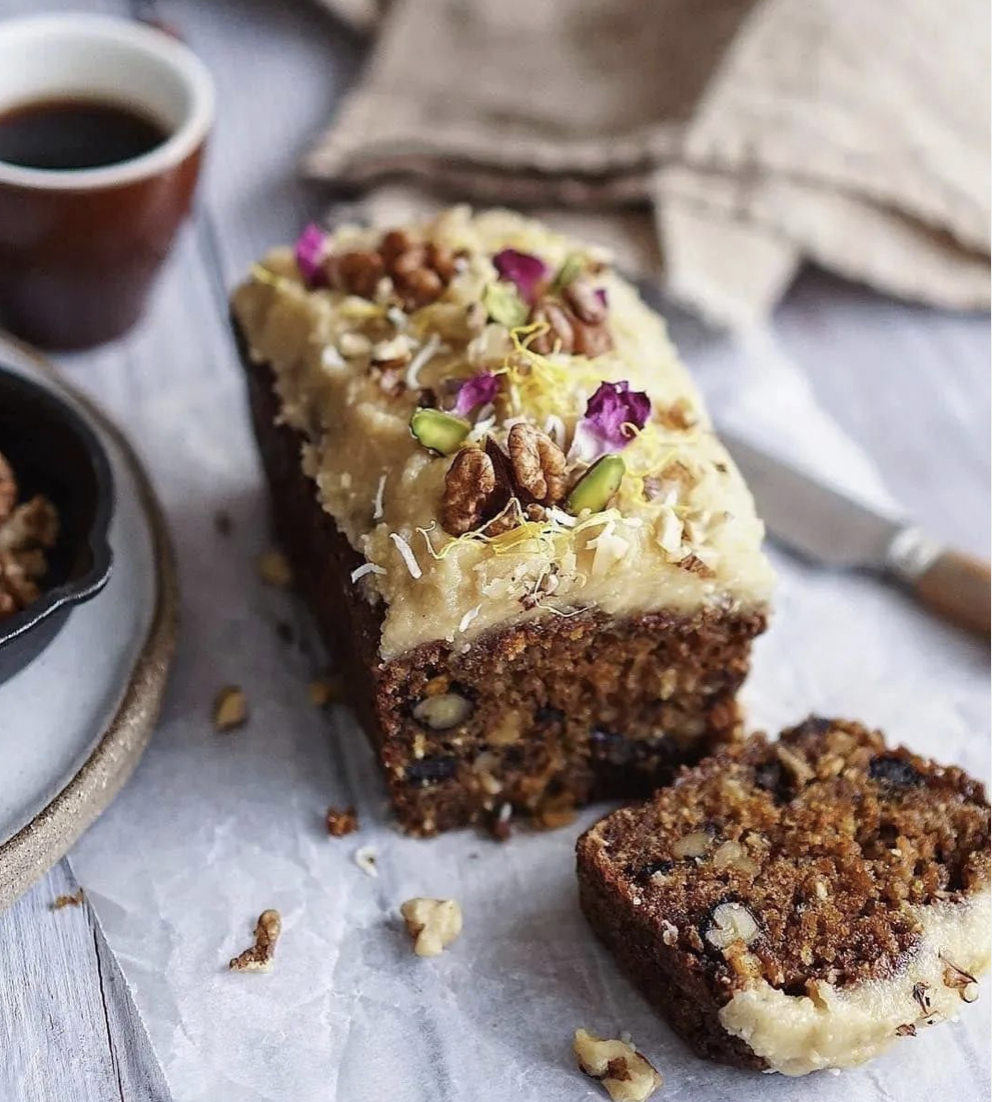
3. Mix up your angles
Food comes in different shapes and sizes — That's why some foods look better when shot from certain angles than others. For example, flat foods look better when photographed looking down from above the table, but others stand out in a more angular shot.
Below is an example of how an above shot can give your cakes a little wow factor.

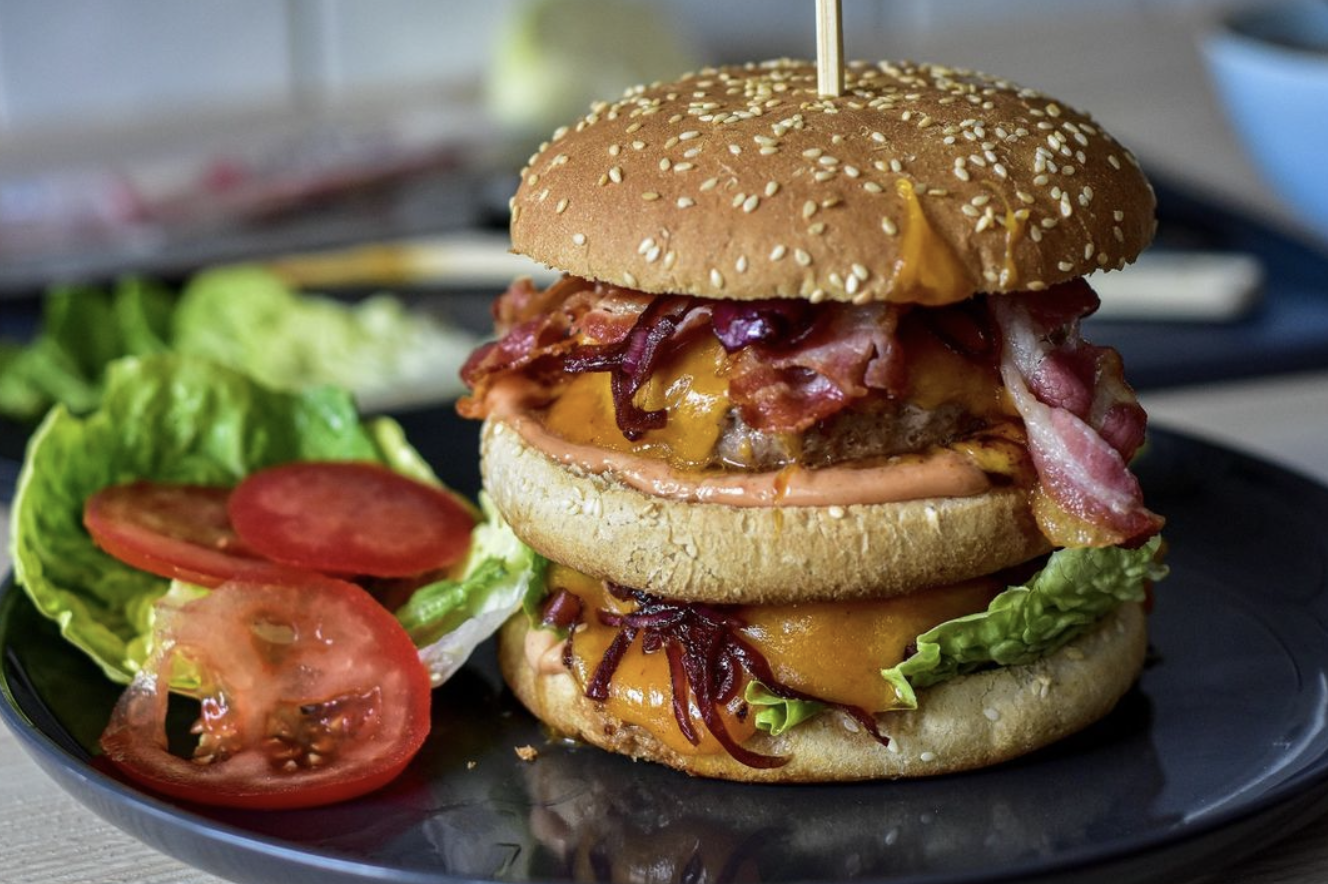
While burgers, on the other hand, look better when photographed from an angle. That way, customers can better see all the toppings.
4. Prop up your hero dish (pun intended)
Props should go hand in hand with your hero dish; they help tell its story. Ingredients, sauces, oils, and cooking utensils can show what it took for the dish to be prepared. In the same way, tins, jars, herbs, and fabrics can hint at the dish's origin or the season in which it is served.
However, it's worth remembering that no matter how tempting it is to cover your table in props or decorations, sometimes less is more. So keep it simple; one or two props are enough to add a subtle burst of personality and color without diverting attention from your hero dish. Your hero dish is the focal point of your shot, and it should remain that way.
5. Apply the rule of thirds
Simply put, the rule of thirds is when you place your hero subject to the side of your photo's frame rather than in the center. Let's imagine drawing four lines — two horizontal and two vertical — over your photo, much like a tic-tac-toe game.
The areas where these lines intersect are your optic sweet spots, as they create the best visual interest in your food.

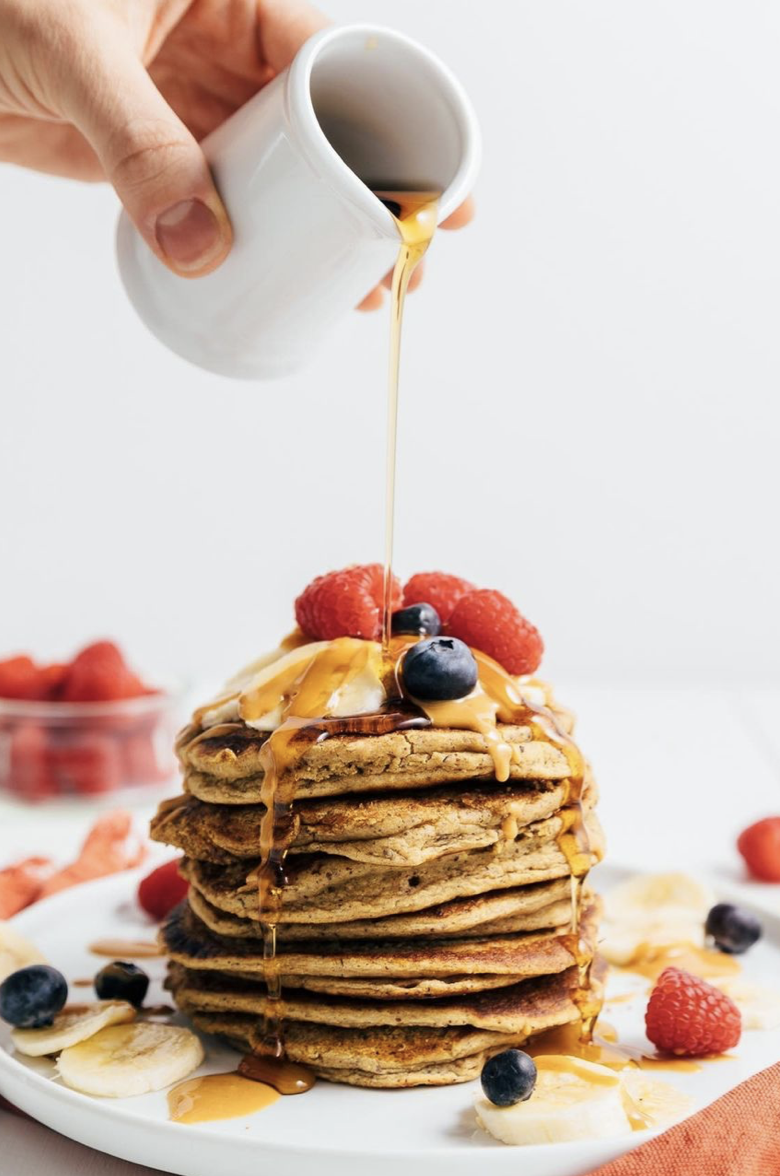
6. Build in some movement
Why make your food flat and dull on a plate when you can incorporate some movement? Doesn't a stack of pancakes look better than one lying there all by itself?
Movement is more visually appealing as it gives the eye more to see. It also creates a beautiful contrast with your shot.
However, always try to incorporate movement that seems natural to its setting and aids in storytelling.
7. Make sure your plates are clean
This one should go without saying, but the cleanliness of your plates can make a lot of difference in your shot. Since the slightest smudge or spot of errant food can distract from your image's main focus, make sure your plates are spotless before taking photos.
8. Play with your food (Yes, we said it)
Don't be shy about experimenting with different food styling options. For example, a little oil or a tiny sprinkle of water on your vegetables can show off their freshness and give them a slight glimmer.
Another example is adding a touch of herbs or even an edible flower to your dishes or cakes. In doing so, you can give your plates a bit of color and make them stand out.
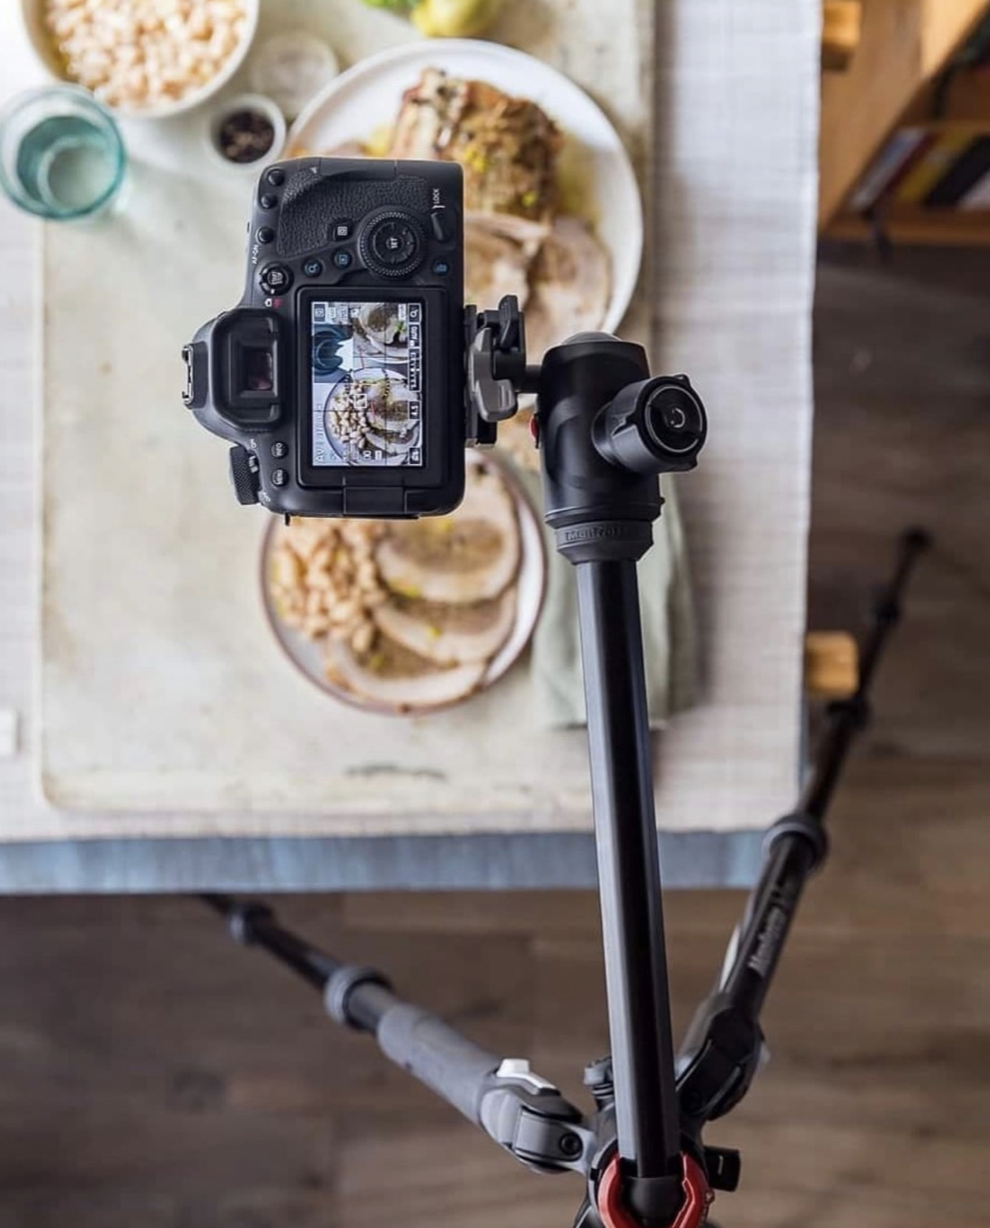
9. Use a tripod for crystal-clear images
If your photos are a bit blurry, using a tripod can help you add stability when taking photos. Nowadays, nearly all camera shops sell small and inexpensive tripods suitable for all kinds of professional and phone cameras.
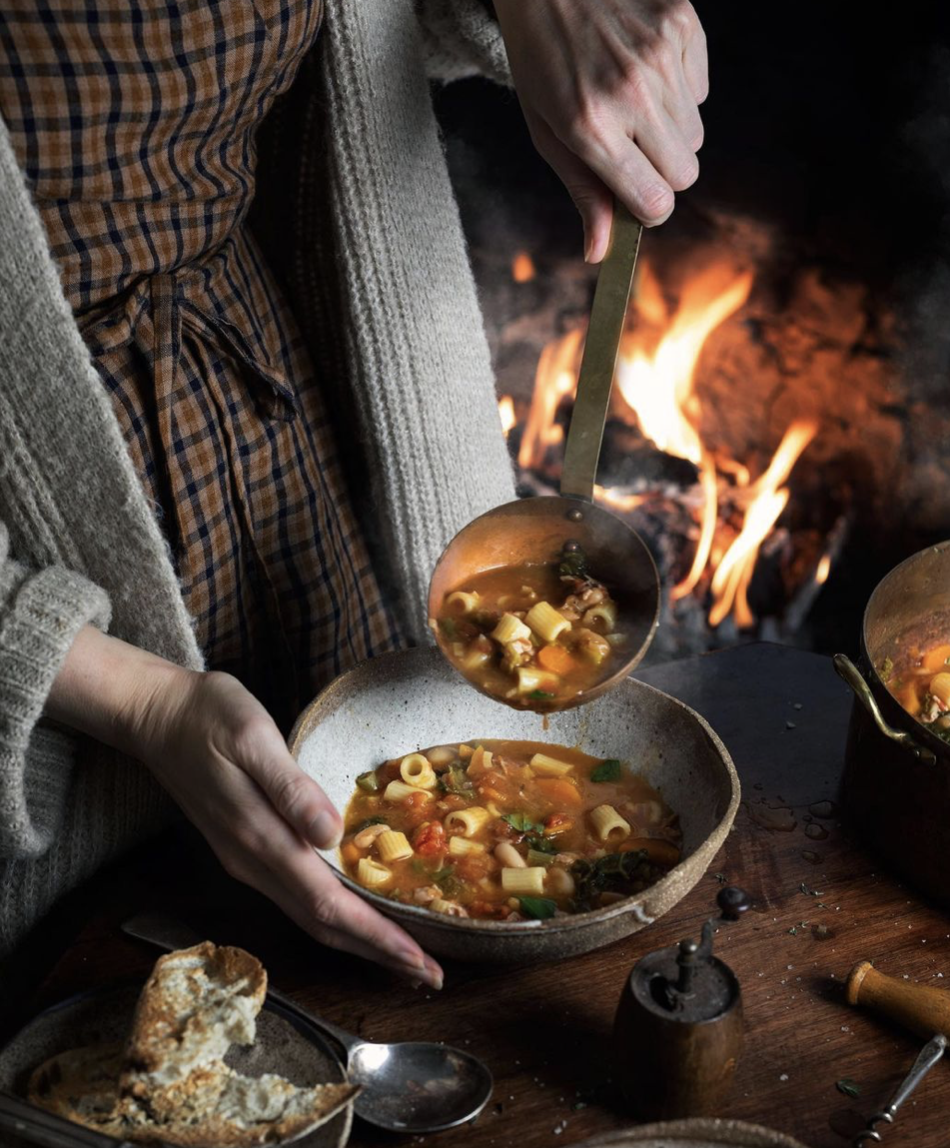
10. Add a human touch
In real life, we don't just look at food; we interact with it, cook it, eat it, and share it. Adding some hands to your shot incorporates a human feel into it. It gives the viewer something to connect with, tells a story, and creates an exciting contrast with your static image.
It could be as simple as hands holding a cup of coffee, stirring a pot, prepping food, or pouring drinks.
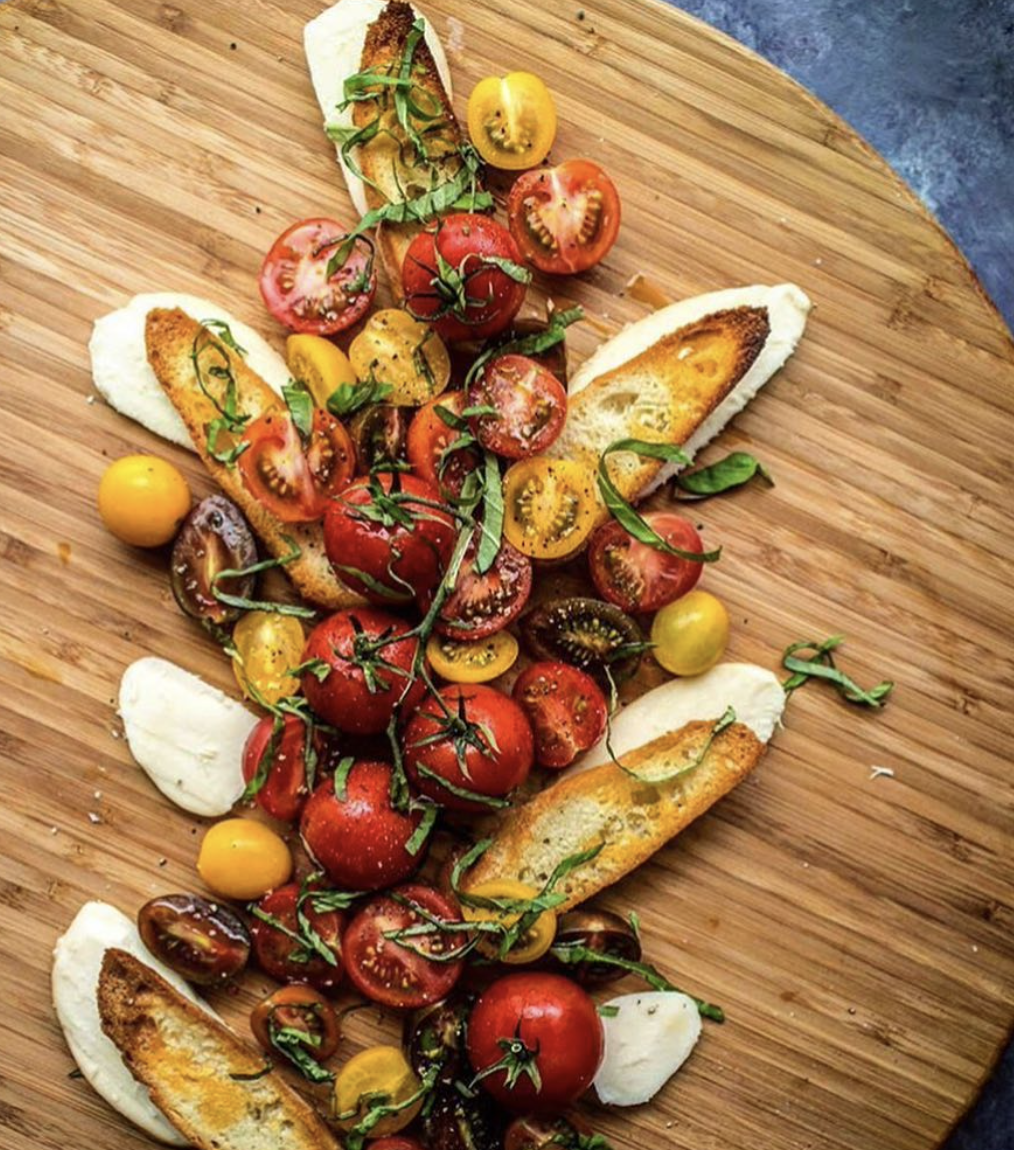
11. Think about colors
Color is a huge part of good food photography. Therefore, a basic knowledge of the color wheel and which colors contrast and complement each other well can go a long way toward making your shot a hit.
Some examples of this could include placing a piece of chocolate cake on a white plate or adding a green plant to the background of your image. Photos with contrasting colors are more visually appealing.
12. Zoom in and out
With food photography, as with anything in life, you can't nail it on the head from the first try. It requires plenty of experimenting until you get the shot exactly right. So, don't be afraid to play around with your camera; get up close to the food and then back up as well.
If your dish has interesting textures or details you want to highlight, try taking pictures up close. Zooming in allows viewers to see the details as if the plate was right in front of them.
Alternatively, if your dishes involve multiple items, or if you want to incorporate more into your scene, try taking your camera a few steps back.

13. Edit for glowing results
Editing helps you put the final touches on your images and claim them in your style. And if you're unsure how to edit your images, don't fret. These days, many editing programs and tools are available to help you sharpen your images.
And you can always start by focusing on increasing the clarity of your images and lessening the effect of any dark shadows. Also, if you plan on using filters to boost your images' liveliness, try to avoid ones that seriously alter the look of your dishes.

So what's next?
Hopefully, these ideas and examples have inspired you to pick up your phone or camera and venture into the exciting world of food photography. Because with all these food photography tips, the most important tip of all is to keep practicing. Don't be afraid to experiment with different props, backgrounds, photography techniques, and food styling options.
Theory can only take you so far; it's only when you start doing things yourself that you get the hang of them and develop your style. And soon enough, you'll be producing remarkable images, showcasing your dishes, and enticing prospective customers.
Contact Zyda today and discover how our solutions can help you stand out and succeed in the competitive food market.